 |
 | ||||||||||||
|
|||||||||||||
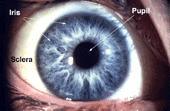
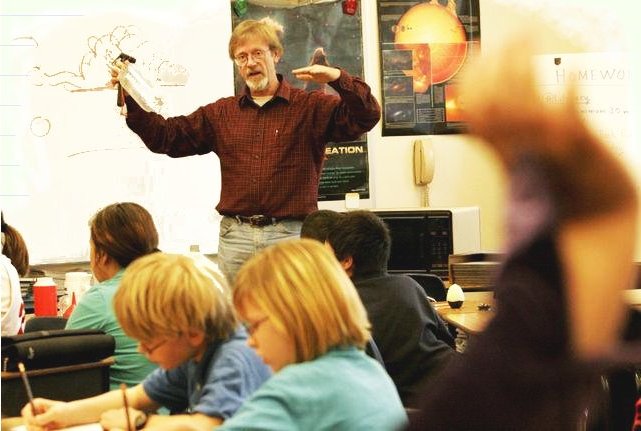
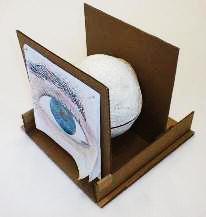
How does the eye work?
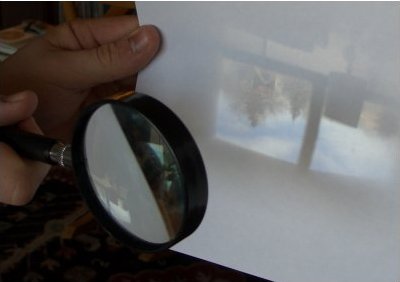
Actually, the real question I got was 'why does people's eyesight go bad?', but I can't answer the second one without answering the first one. Out of cardboard, paper and glue, and using a big lens from a hand-held magnifying glass, I built a working model of the eye. Here is how to. With the model, you can take the eye apart piece by piece: take off the eyelids, the cornea, the iris. You can see the real image formed on the retina (upside down of course). This works best of course when you can point the eye at a window so you get a bright image. This is always a great hit. [the model cheats a bit because in a real eye the image forming is done mostly by the shape of the cornea, and the lens is only a corrective element; If anyone has a good way of showing this, I'd like to know.]
A related question came up: why do people have different color eyes? Basically to block the light and to make the inside of the eye as dark as possible. I noted that people with ancestry in Northern climates don't need as much pigment, since on average there is less light than in the tripics. See the last link below. In 2004, I brought in the eyeball to answer the question "Is the night sky blue or black?". In this context, I talked about the retina, the rods (light/dark perception, not very sharp, but very sensitive), and cones (only in the center, color-sensitive, but not very sensitive in low light). The week before, we had done the blue sky game. The sky is blue due to scattering and the light intensity has nothing to do with color. I concluded that the night sky not seen as dark blue, because (human) color vision does not work in low light.
Links:
|
|||||||||||||

How do clouds form?
I did 2 demonstrations: one 'cloud in a bottle', where you pressurize a pop bottle that has a spoon of water in it, and then when the cork blows, the bottle is filled with fog. Kids love explosions! 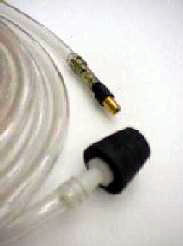 I use a #4 rubber stopper with a hole in it, a nylon union and
some plastic tubing, and tire valve with most of the rubber
cut off on the other end of the hose. Put a spoonful of water in
the bottle, and jam the stopper in as hard as you can. With your
bicycle pump, start pressurizing the bottle. You can occasionally
shake the bottle to ensure that the water splashes around and
keeps the air in the bottle saturated. The pressurization will
raise the temperature in the bottle. If you pop the cork immediately, the temperature
will drop back to where you started from - no fog. What you have to do is pump up the
bottle, and wait a while so it cools off again to room tempetature. Usually I talk
and wave the bottle around, in order to dissolve water, and cool the bottle. After
a while, the bottle has the same temperature as the room, and now, when you
depressurize, the temperature drops and fog forms. You can squirt it out and see it
against a dark background.
I use a #4 rubber stopper with a hole in it, a nylon union and
some plastic tubing, and tire valve with most of the rubber
cut off on the other end of the hose. Put a spoonful of water in
the bottle, and jam the stopper in as hard as you can. With your
bicycle pump, start pressurizing the bottle. You can occasionally
shake the bottle to ensure that the water splashes around and
keeps the air in the bottle saturated. The pressurization will
raise the temperature in the bottle. If you pop the cork immediately, the temperature
will drop back to where you started from - no fog. What you have to do is pump up the
bottle, and wait a while so it cools off again to room tempetature. Usually I talk
and wave the bottle around, in order to dissolve water, and cool the bottle. After
a while, the bottle has the same temperature as the room, and now, when you
depressurize, the temperature drops and fog forms. You can squirt it out and see it
against a dark background.
I took a 2-liter plastic pop bottle, and put a little bit of water in it (about 1/4 cup). Put it in the microwave oven with the top off and let the water come to a boil. As the water boils, the steam will completely drive out all the air that was in the bottle. Quickly open the oven door and put a stopper into the bottle. Careful! the bottle is hot, and so is the steam blowing out of it. With the stopper in place, take the bottle out and let it cool down to room temperature. Since the air was all driven out, and the steam will eventually condense back into less than 1/4 cup of water, the air pressure in the room will crush the bottle completely flat. Also observe that sometimes the pressure in the bottle falls so fast that the water inside will start boiling again, albeit at a temperature less than 100°C. [Why do I use a rubber stopper and not the original plastic screw cap? I noticed that the plastic of these bottles shrinks when heated to 100°C. Sometimes the shrinkage is so bad that the original cap does not fit very well anymore.] How does this relate to clouds? Here in Santa Fe we're at the foot of the Sangre de Christo mountains. The kids know that when you go up the mountain, your ears pop (pressure drop) and it gets colder. So as you go up, there comes a point where the temperature drops to where fog (clouds) form. This height is the same everywhere, and therefore the bottom of summer clouds is flat, and the tops are billowy. 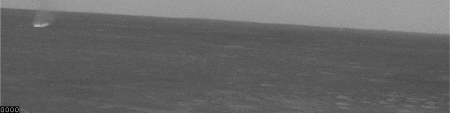
Storm on Saturn Storm on Jupiter
|
|||||||||||||
|
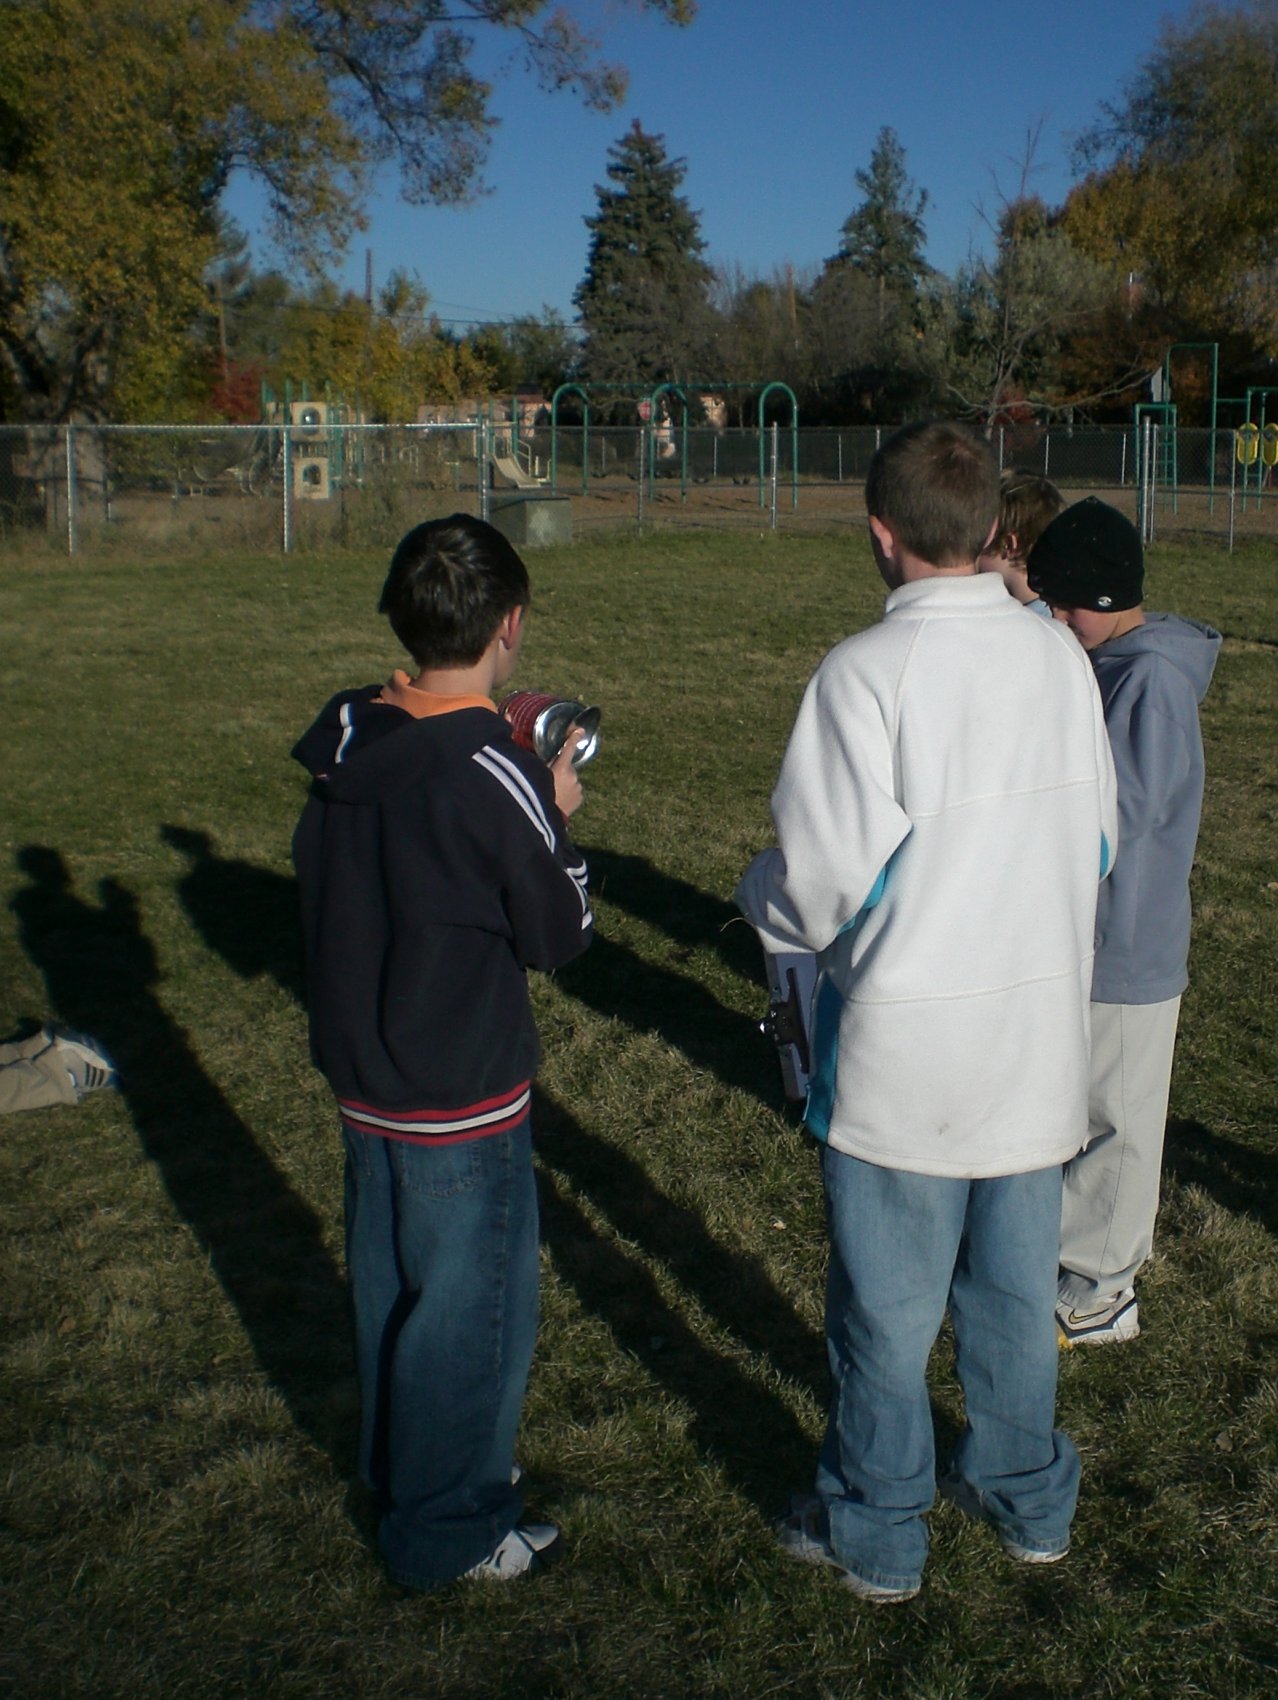
How are you able to hear other
people's voices?
Some links:
|
|||||||||||||
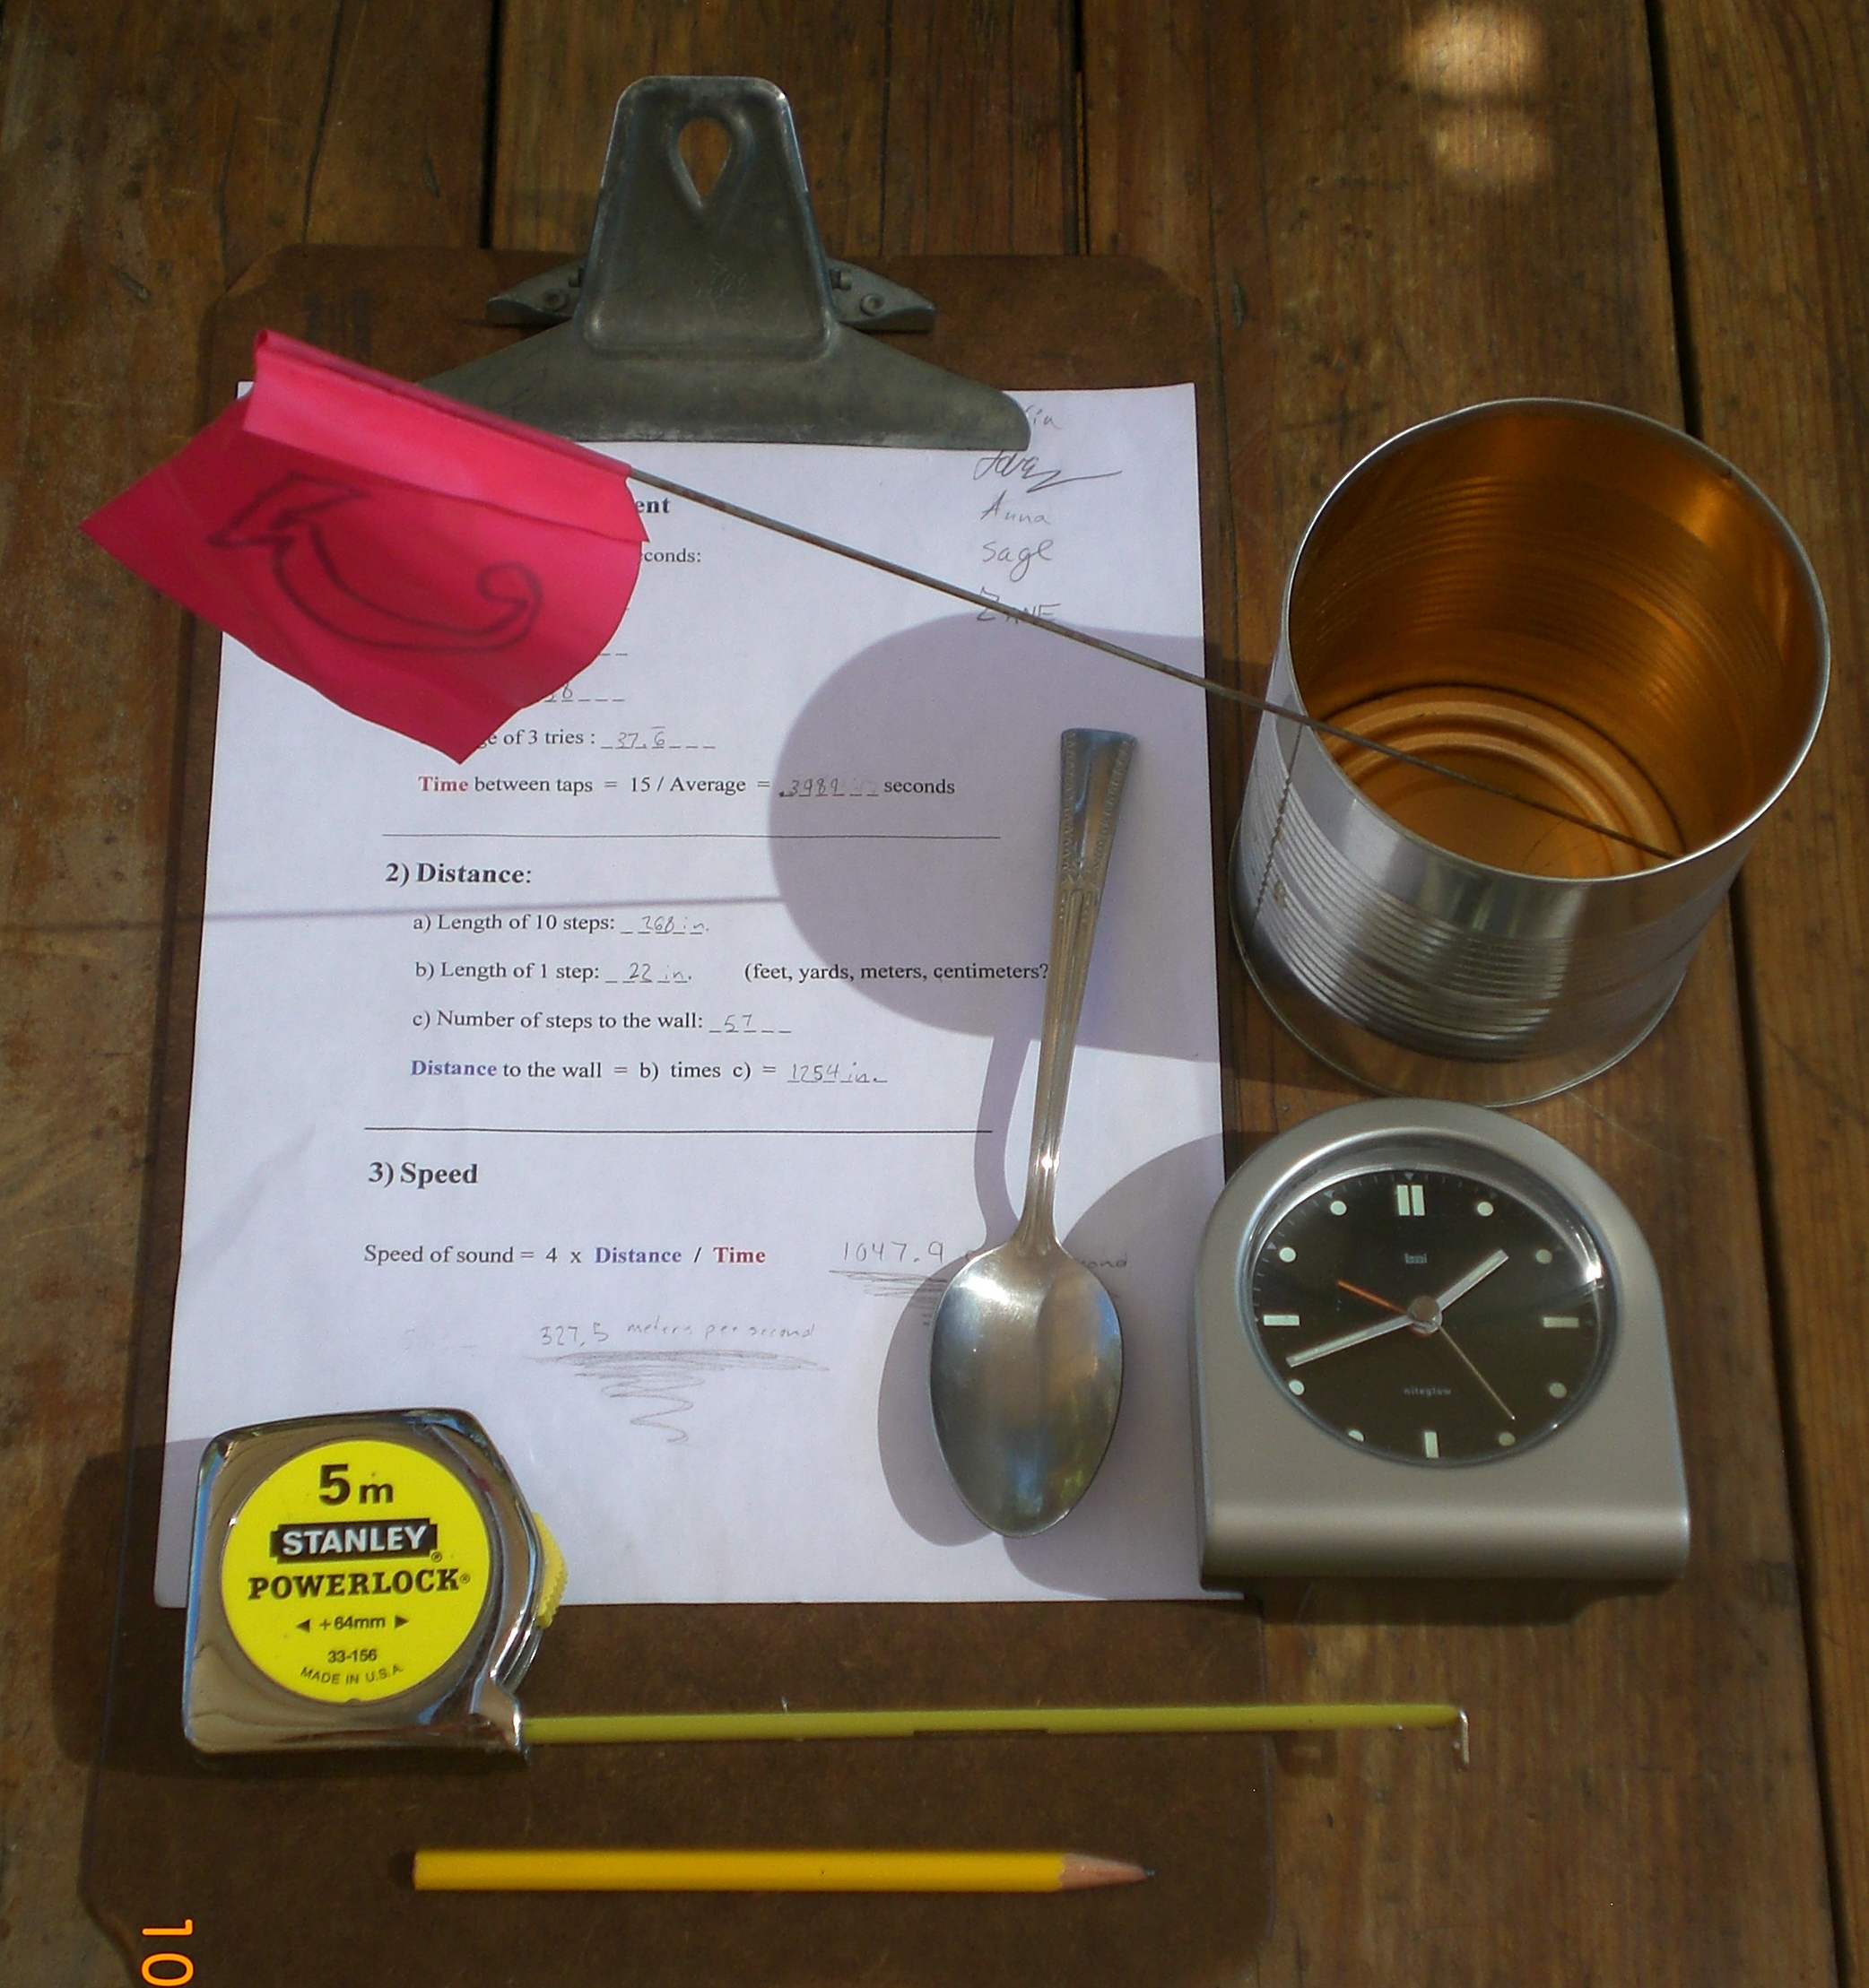
We have two measurement problems here:
The human ear is pretty sensitive to these things, and with a little practice the kids will get the hang of it. Now what you do is have someone beating the can, and have everyone with a watch see how many beats there are in say 30 seconds or a minute. I did three tries; I counted 35 beats in 33 seconds, 30 in 28 and 30 in 26. This means the time per beat is (33+28+26 seconds)/(35+30+30 beats) = 0.92 seconds/beat. To measure the distance to the wall, which in our case was almost 100 feet, you can either do it the slow way, by having them measure the whole distance with a yardstick or a 12-foot tape measure, or you can carefully measure the distance of 10 steps, and then step off the distance and do the multiplication.
Count your steps to the wall, and again on the way back. I got
97 steps one way, and 96 steps back, average 96.5 steps or 289 feet.
When we did it with the whole class, we got a whole bunch of measurements.
Here they are, plus some more tips
Links:
|
|||||||||||||
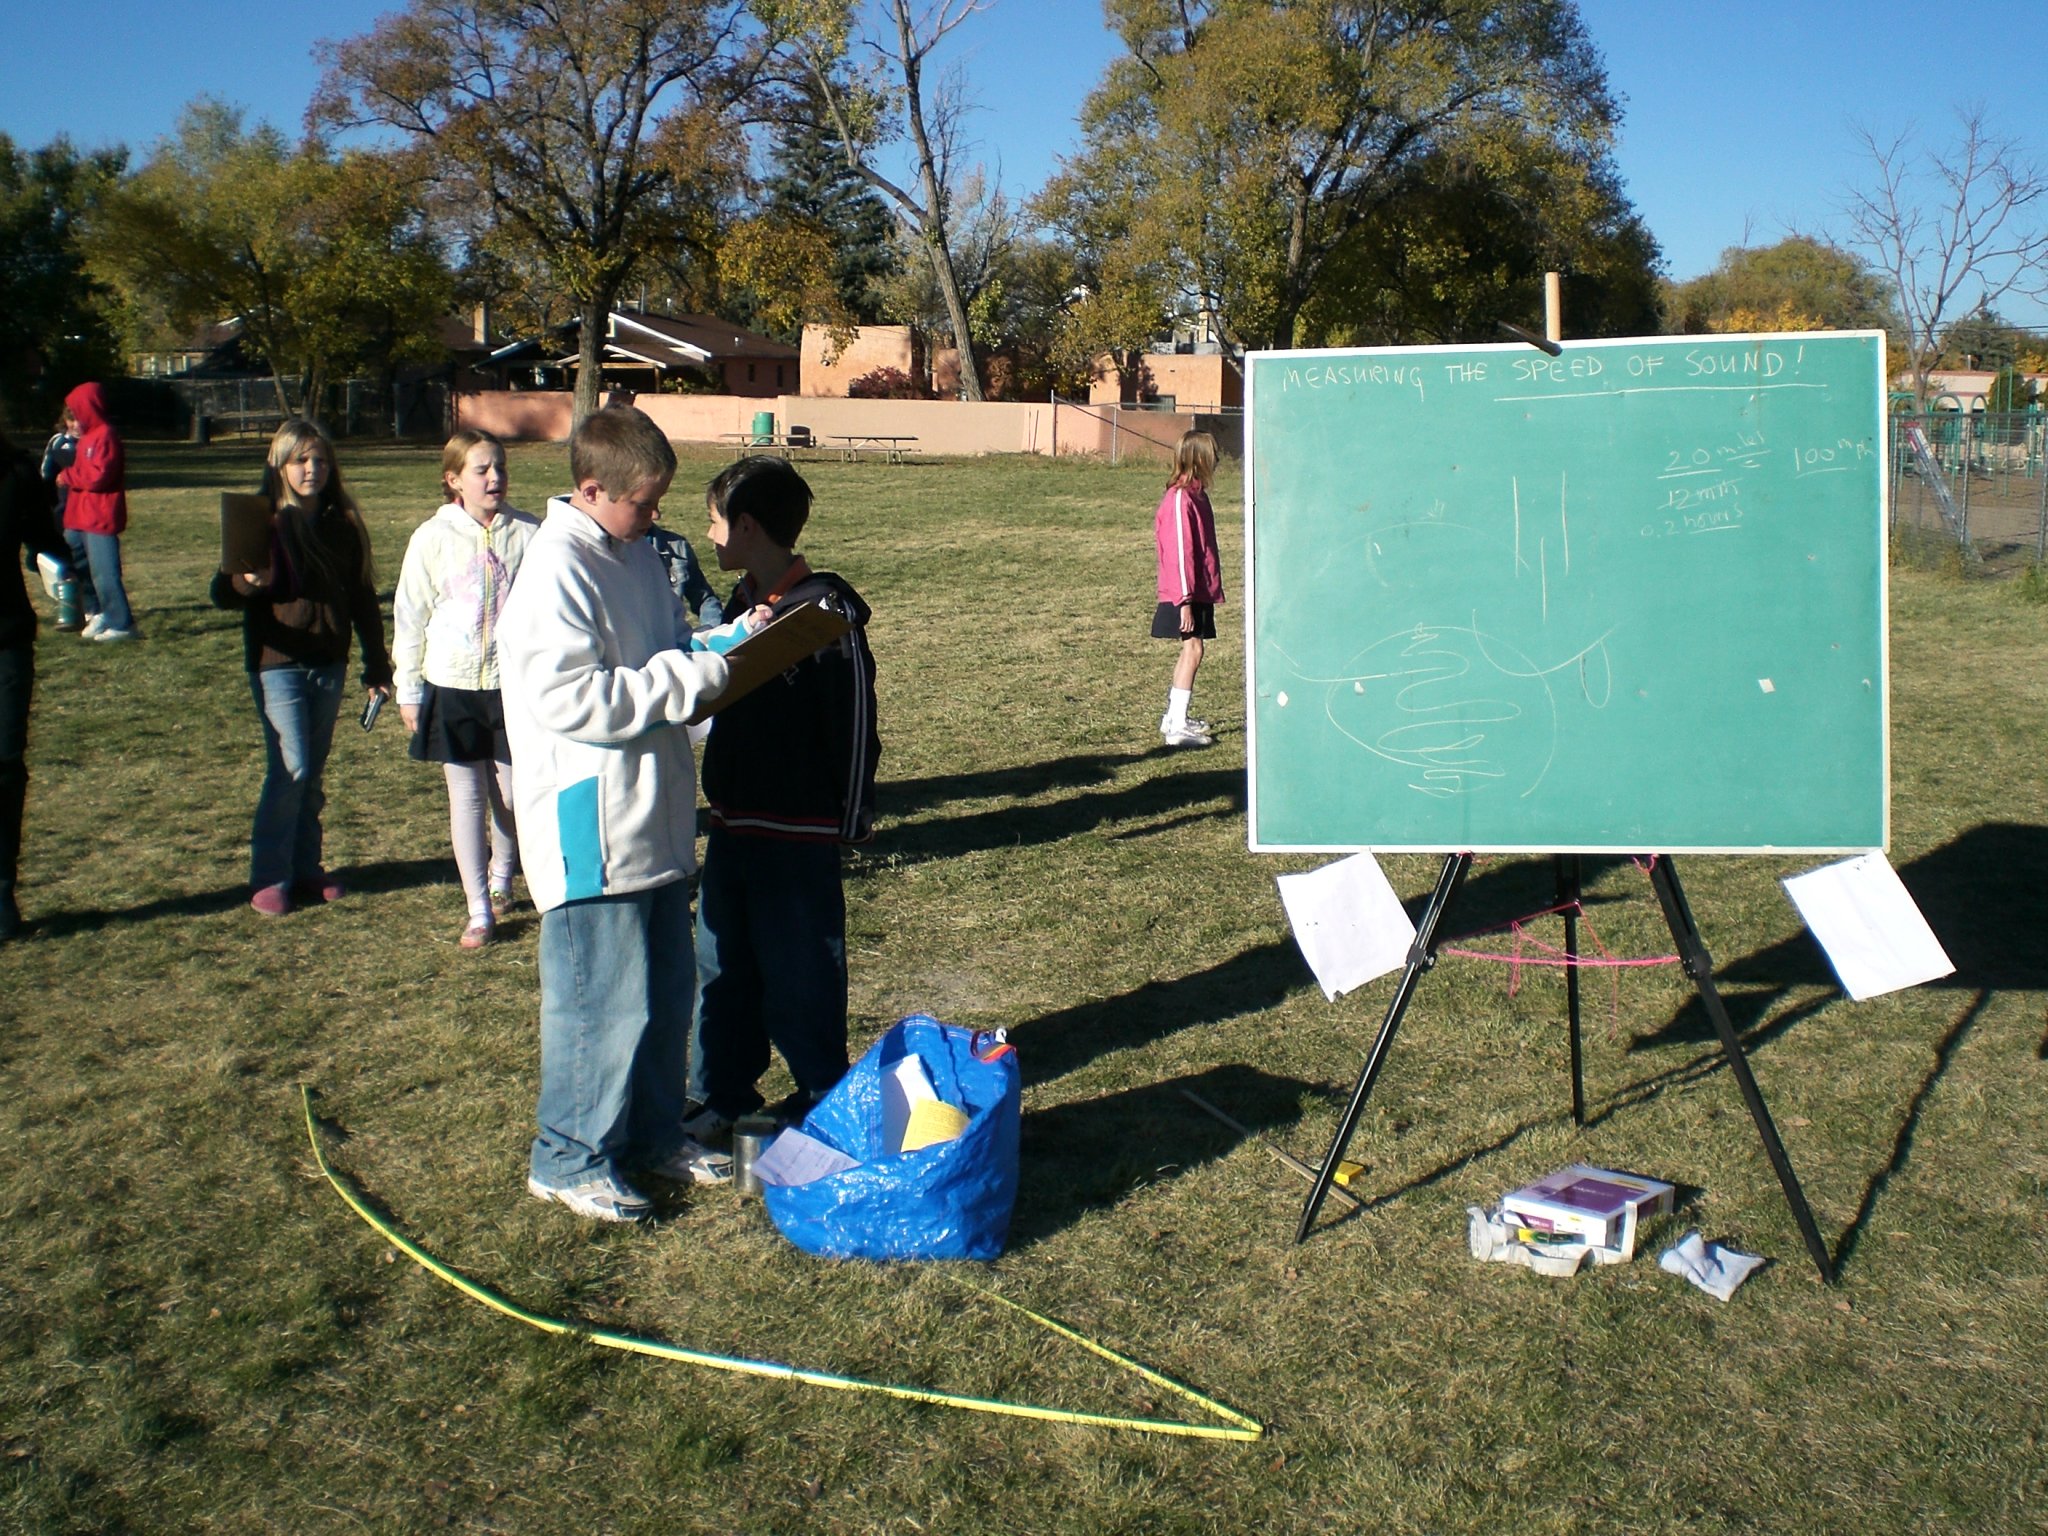
Science in action!
Is the speed of sound the same in warm
and cold air?
I got this question over the internet, and here is how you can investigate this. You need the following:
Take the bottles, and blow on them to make a note. If the bottles are from the
same sixpack, they will make exactly the same pitch tone. [My empty bottles of Red Hook
Ale made a G below middle C on the piano].
How big a difference is 1/2 note on the piano? An octave is when the frequency doubles. An octave is evenly divided into 12 half-note intervals. Therefore the ratio of frequencies of two notes that are 1/2 note apart is the 12th root of 2, which is 1.06. Therefore the speed difference between 0°C and 40°C is 6%. (I am guessing at these temperatures). Links:
|
|||||||||||||
| |||||||||||||
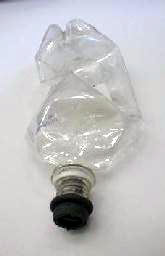 The other demo was the 'collapsing bottle' where you use a 2-liter
plastic pop bottle, fill it with steam, and then have the air
pressure crush the bottle completely flat as it cools back down.
The other demo was the 'collapsing bottle' where you use a 2-liter
plastic pop bottle, fill it with steam, and then have the air
pressure crush the bottle completely flat as it cools back down.


