Building a van de Graaff generator


March 2011

The design is essentially that of Mark Rehorst, who deserver full credit. Here I just point out the small modifications/improvements I made to his design.

Like Mark, I made the rollers out of 1.5" PVC pipe end caps. My caps were not as rounded as Marks'. I also used skateboard ball bearings, but instead of mounting these in holes in the 4" tube, I cut U-shaped openings in the tube's ends, such that the bearings squeeze-fit in these slots, and the top of the bearings is exactly flush with the top of the tube. This way, you can just pop the rollers into place.

Bigger →

I cut rings of tubing that fit on top, and hold the bearings. Actually, the VDG belt holds the rollers in place just fine, and I only used the ring at the bottom.

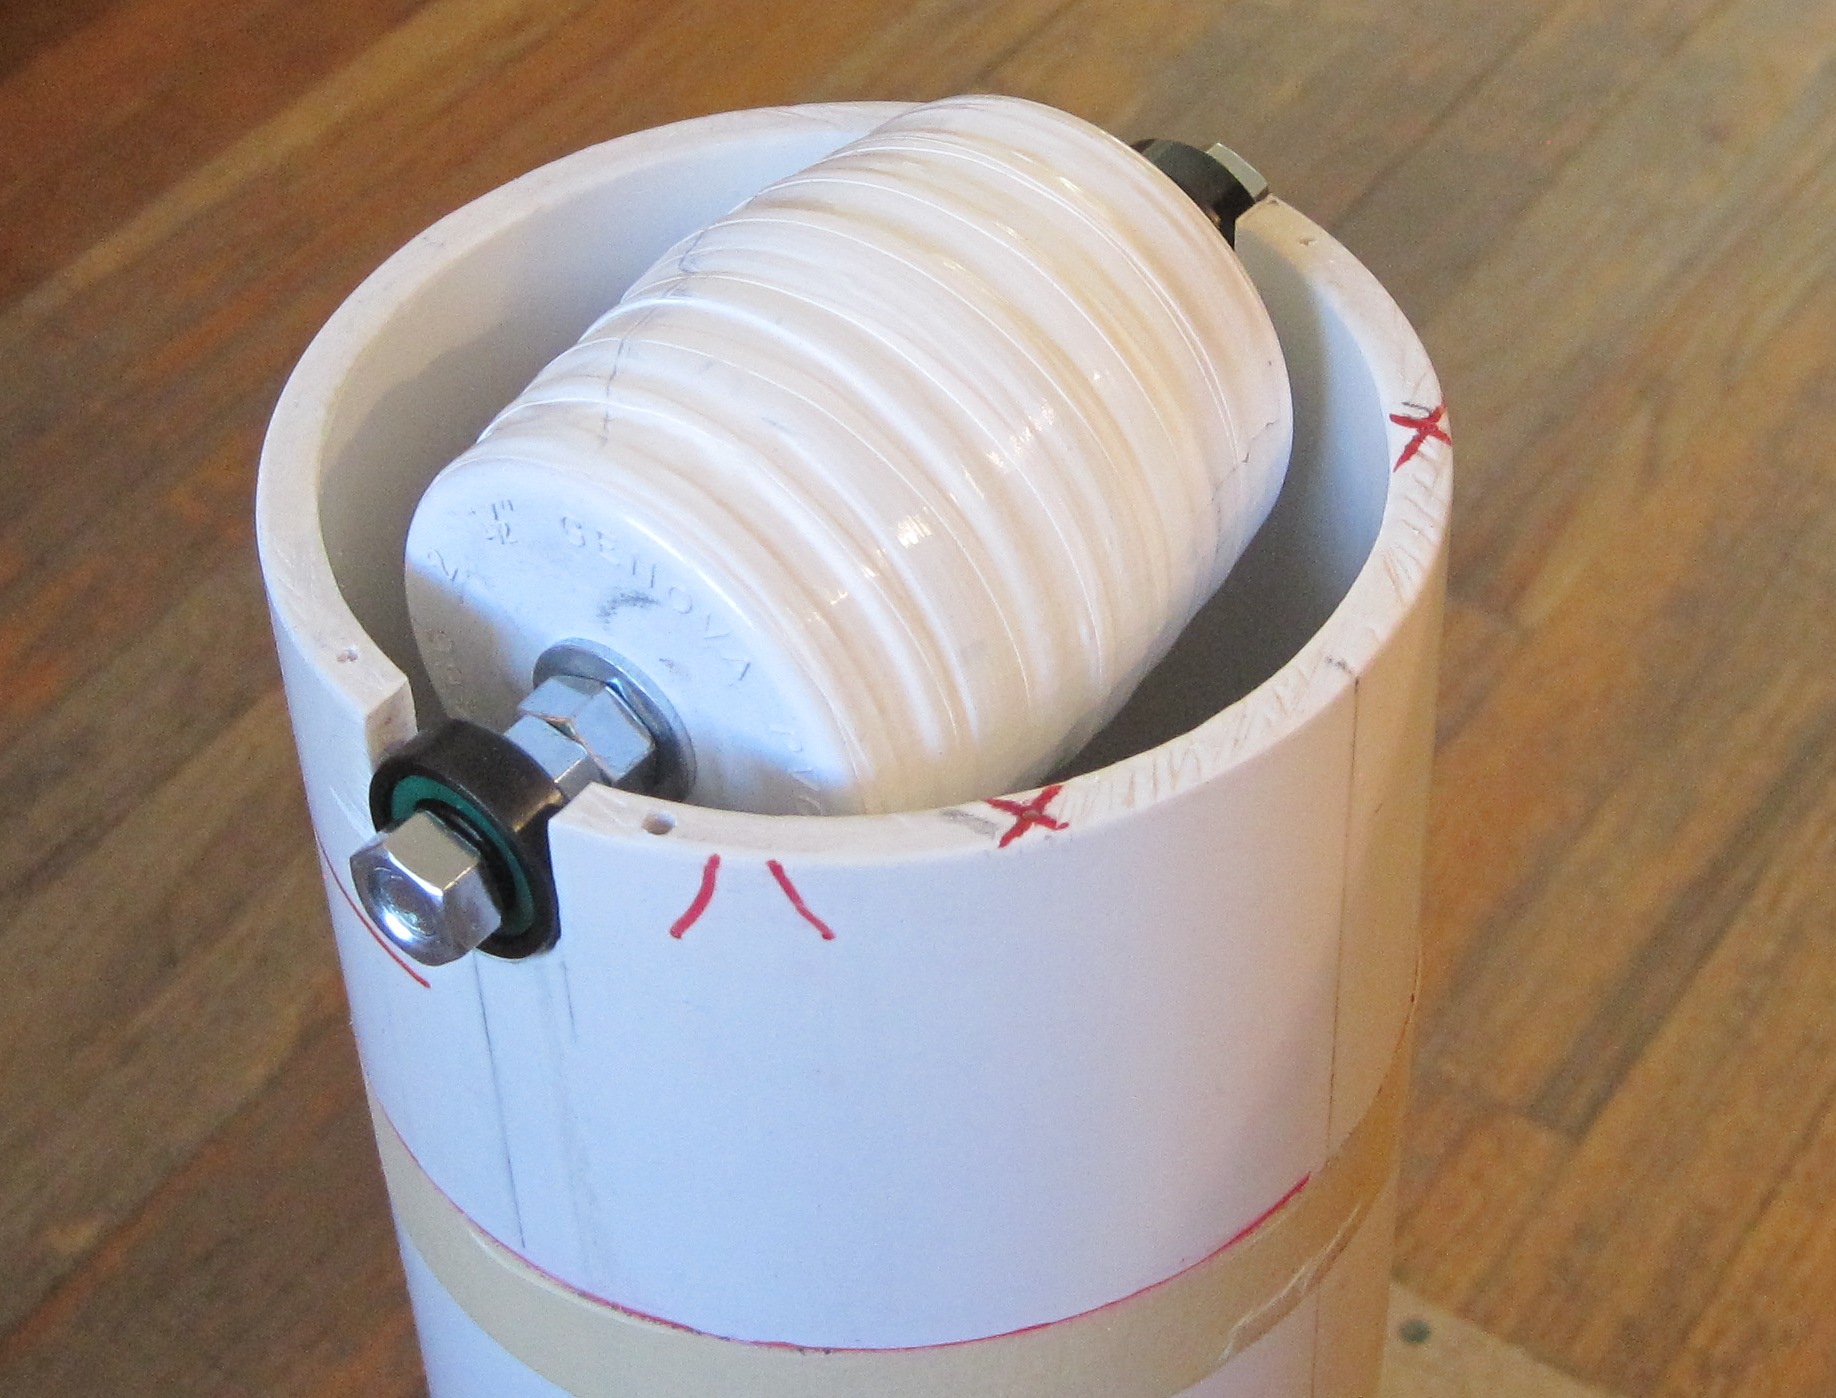
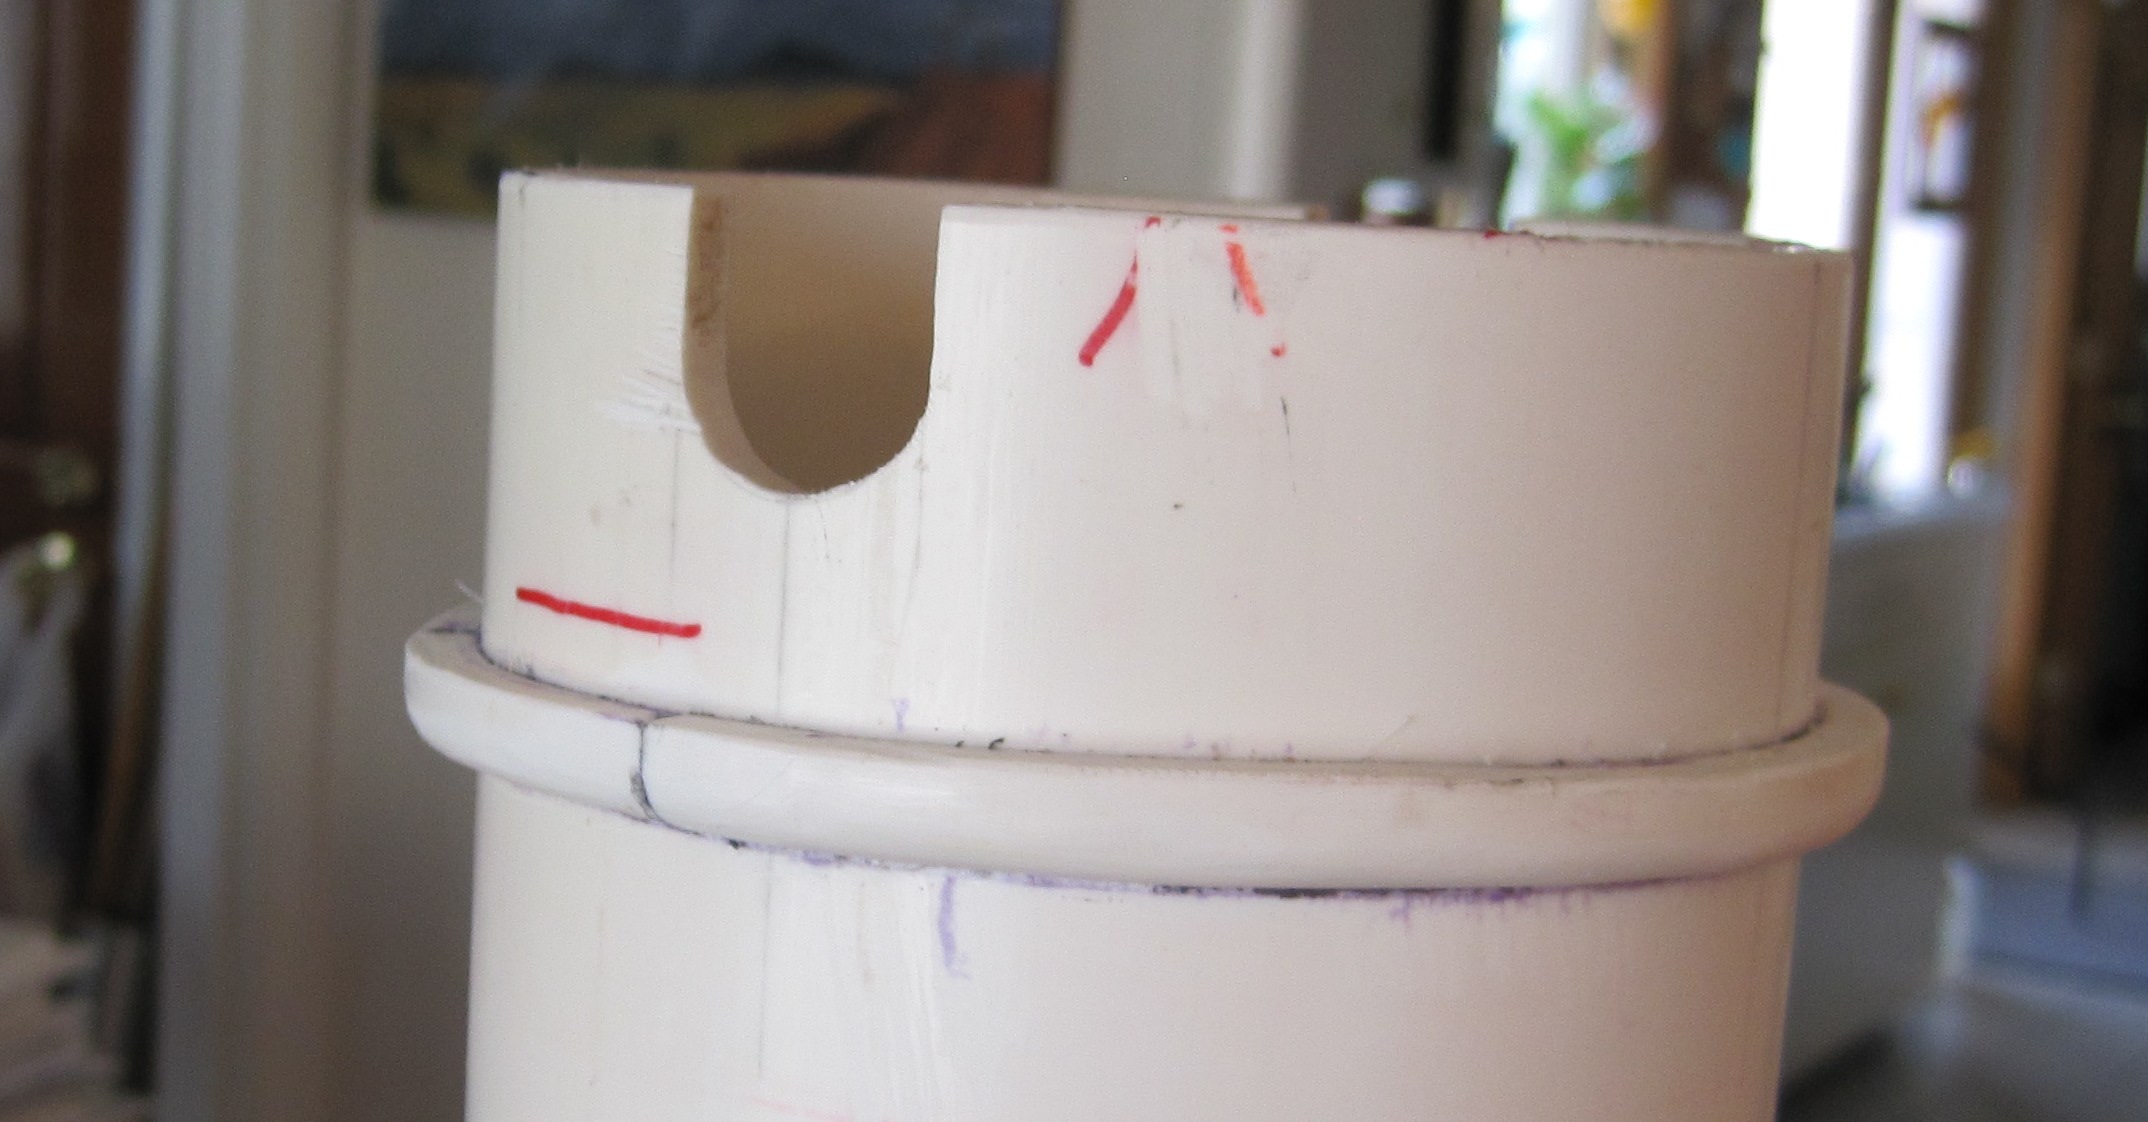
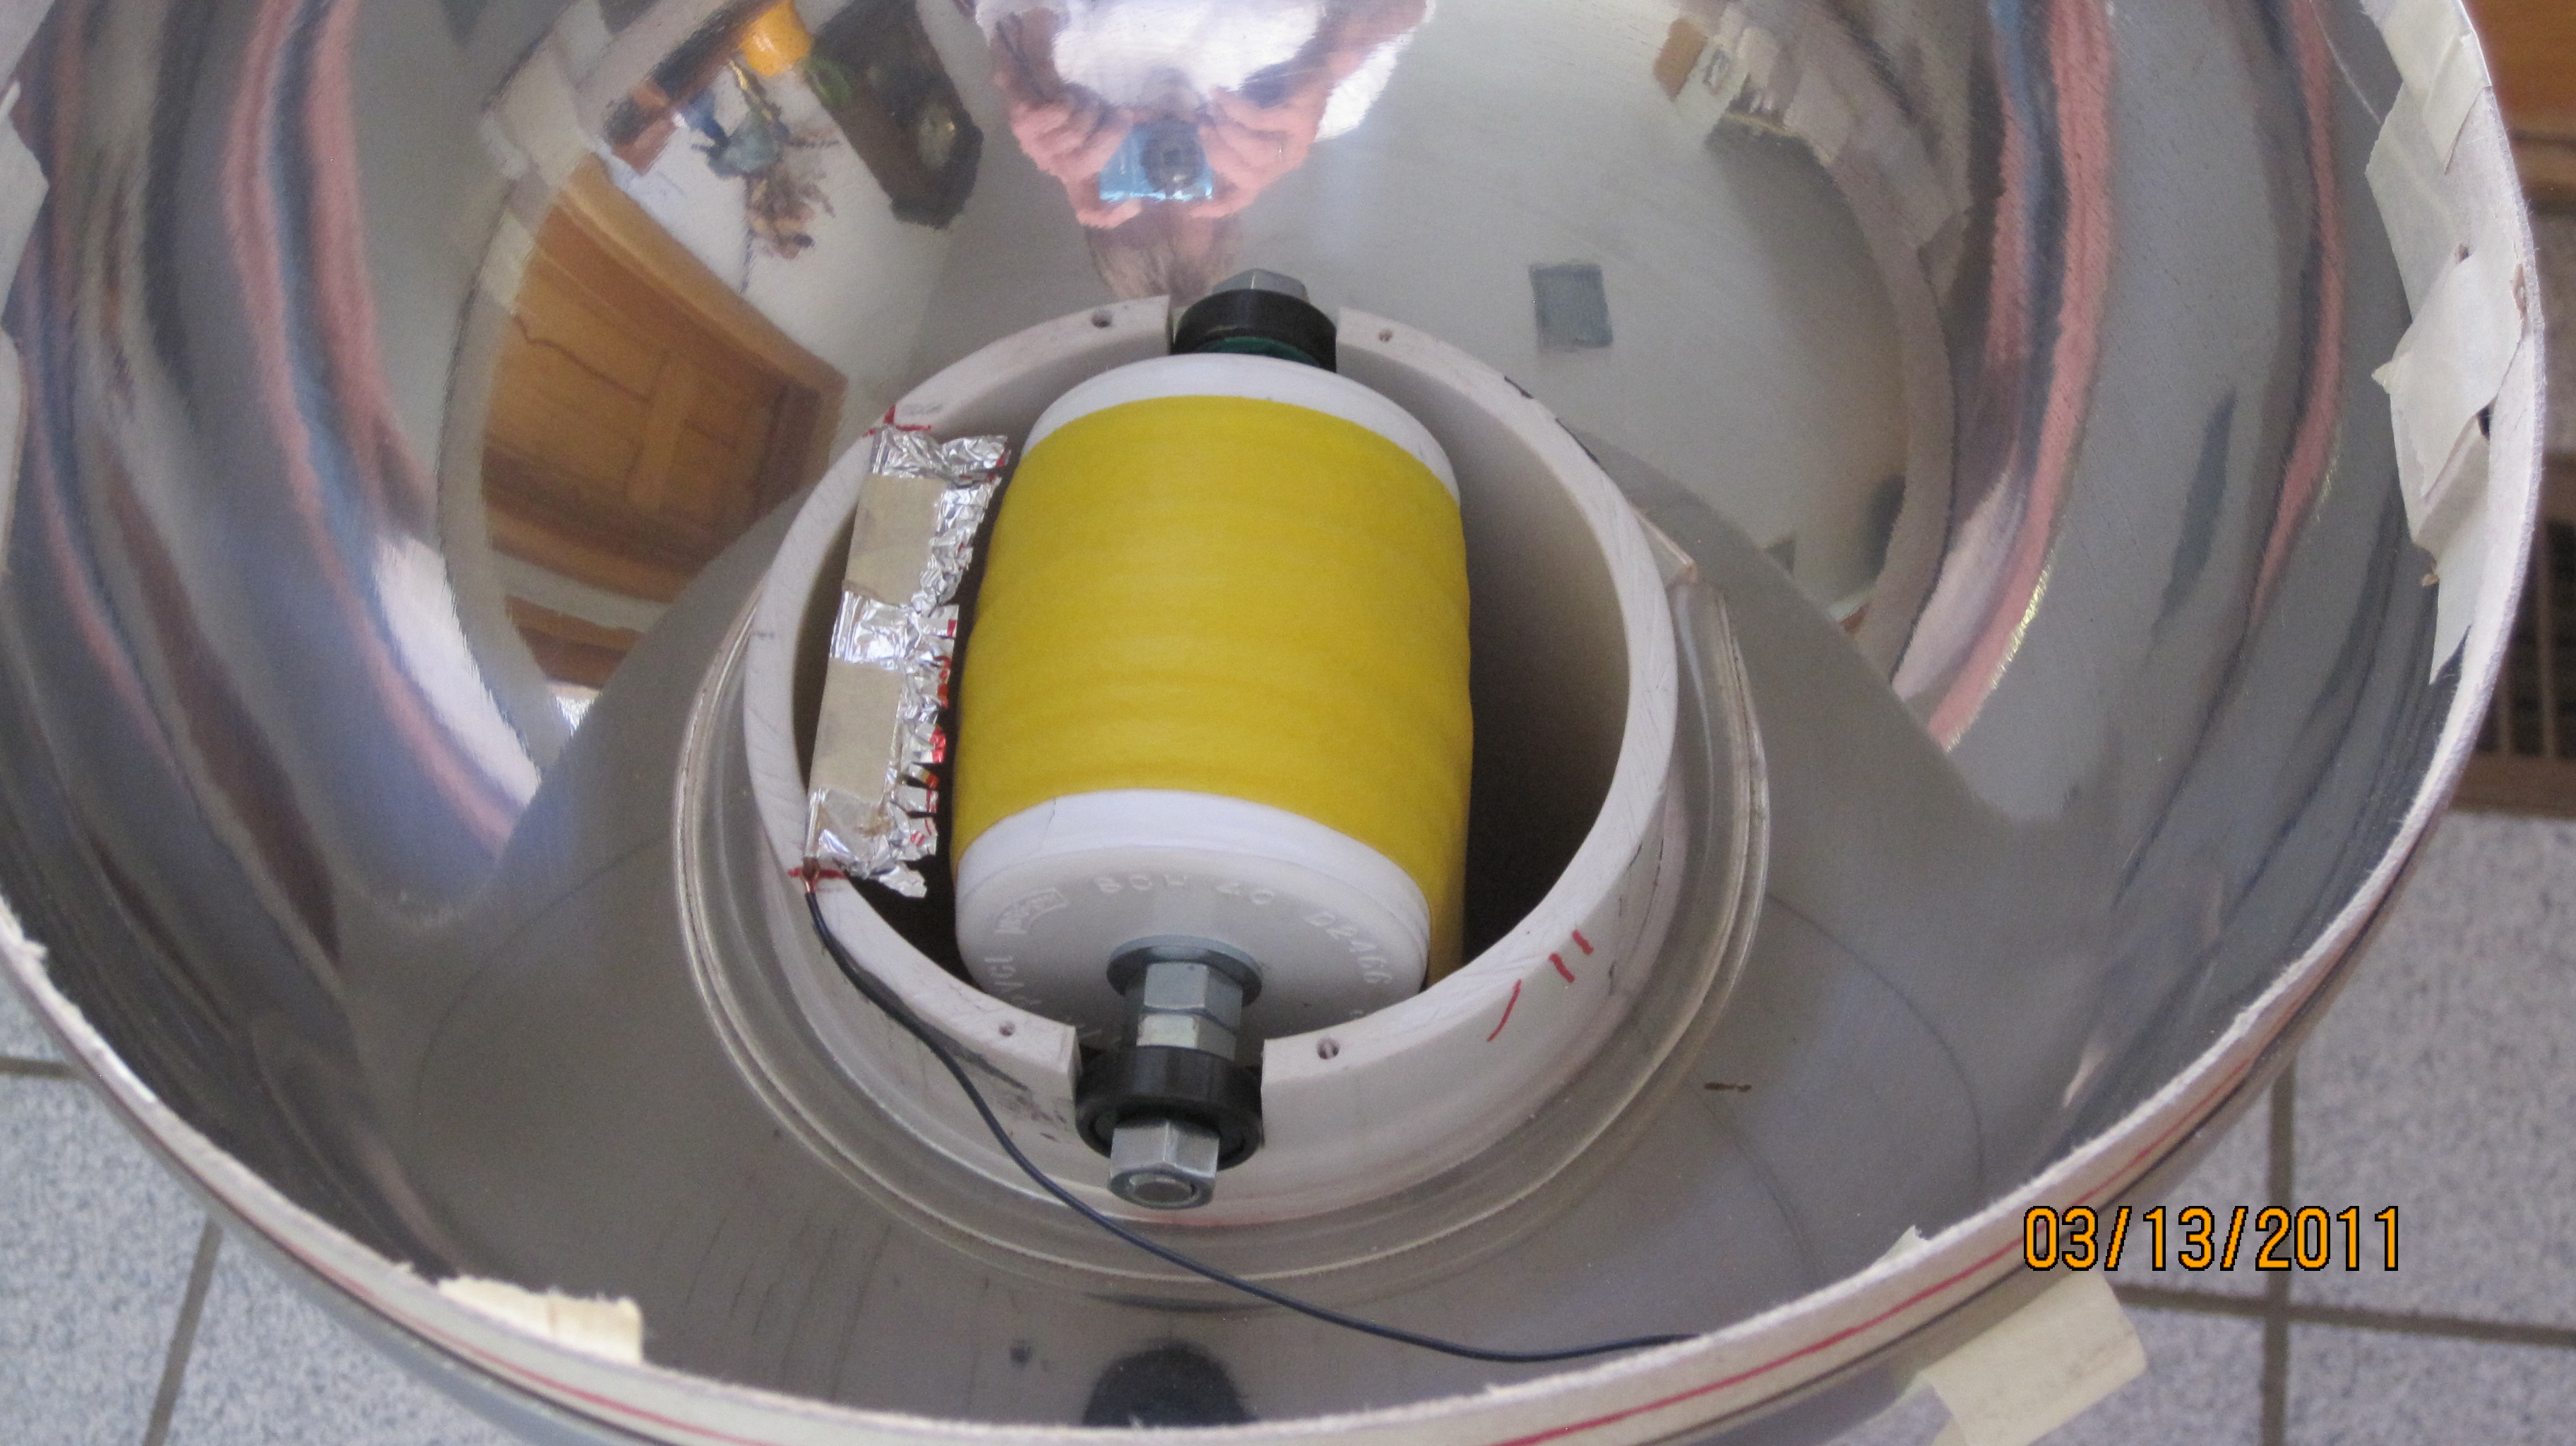
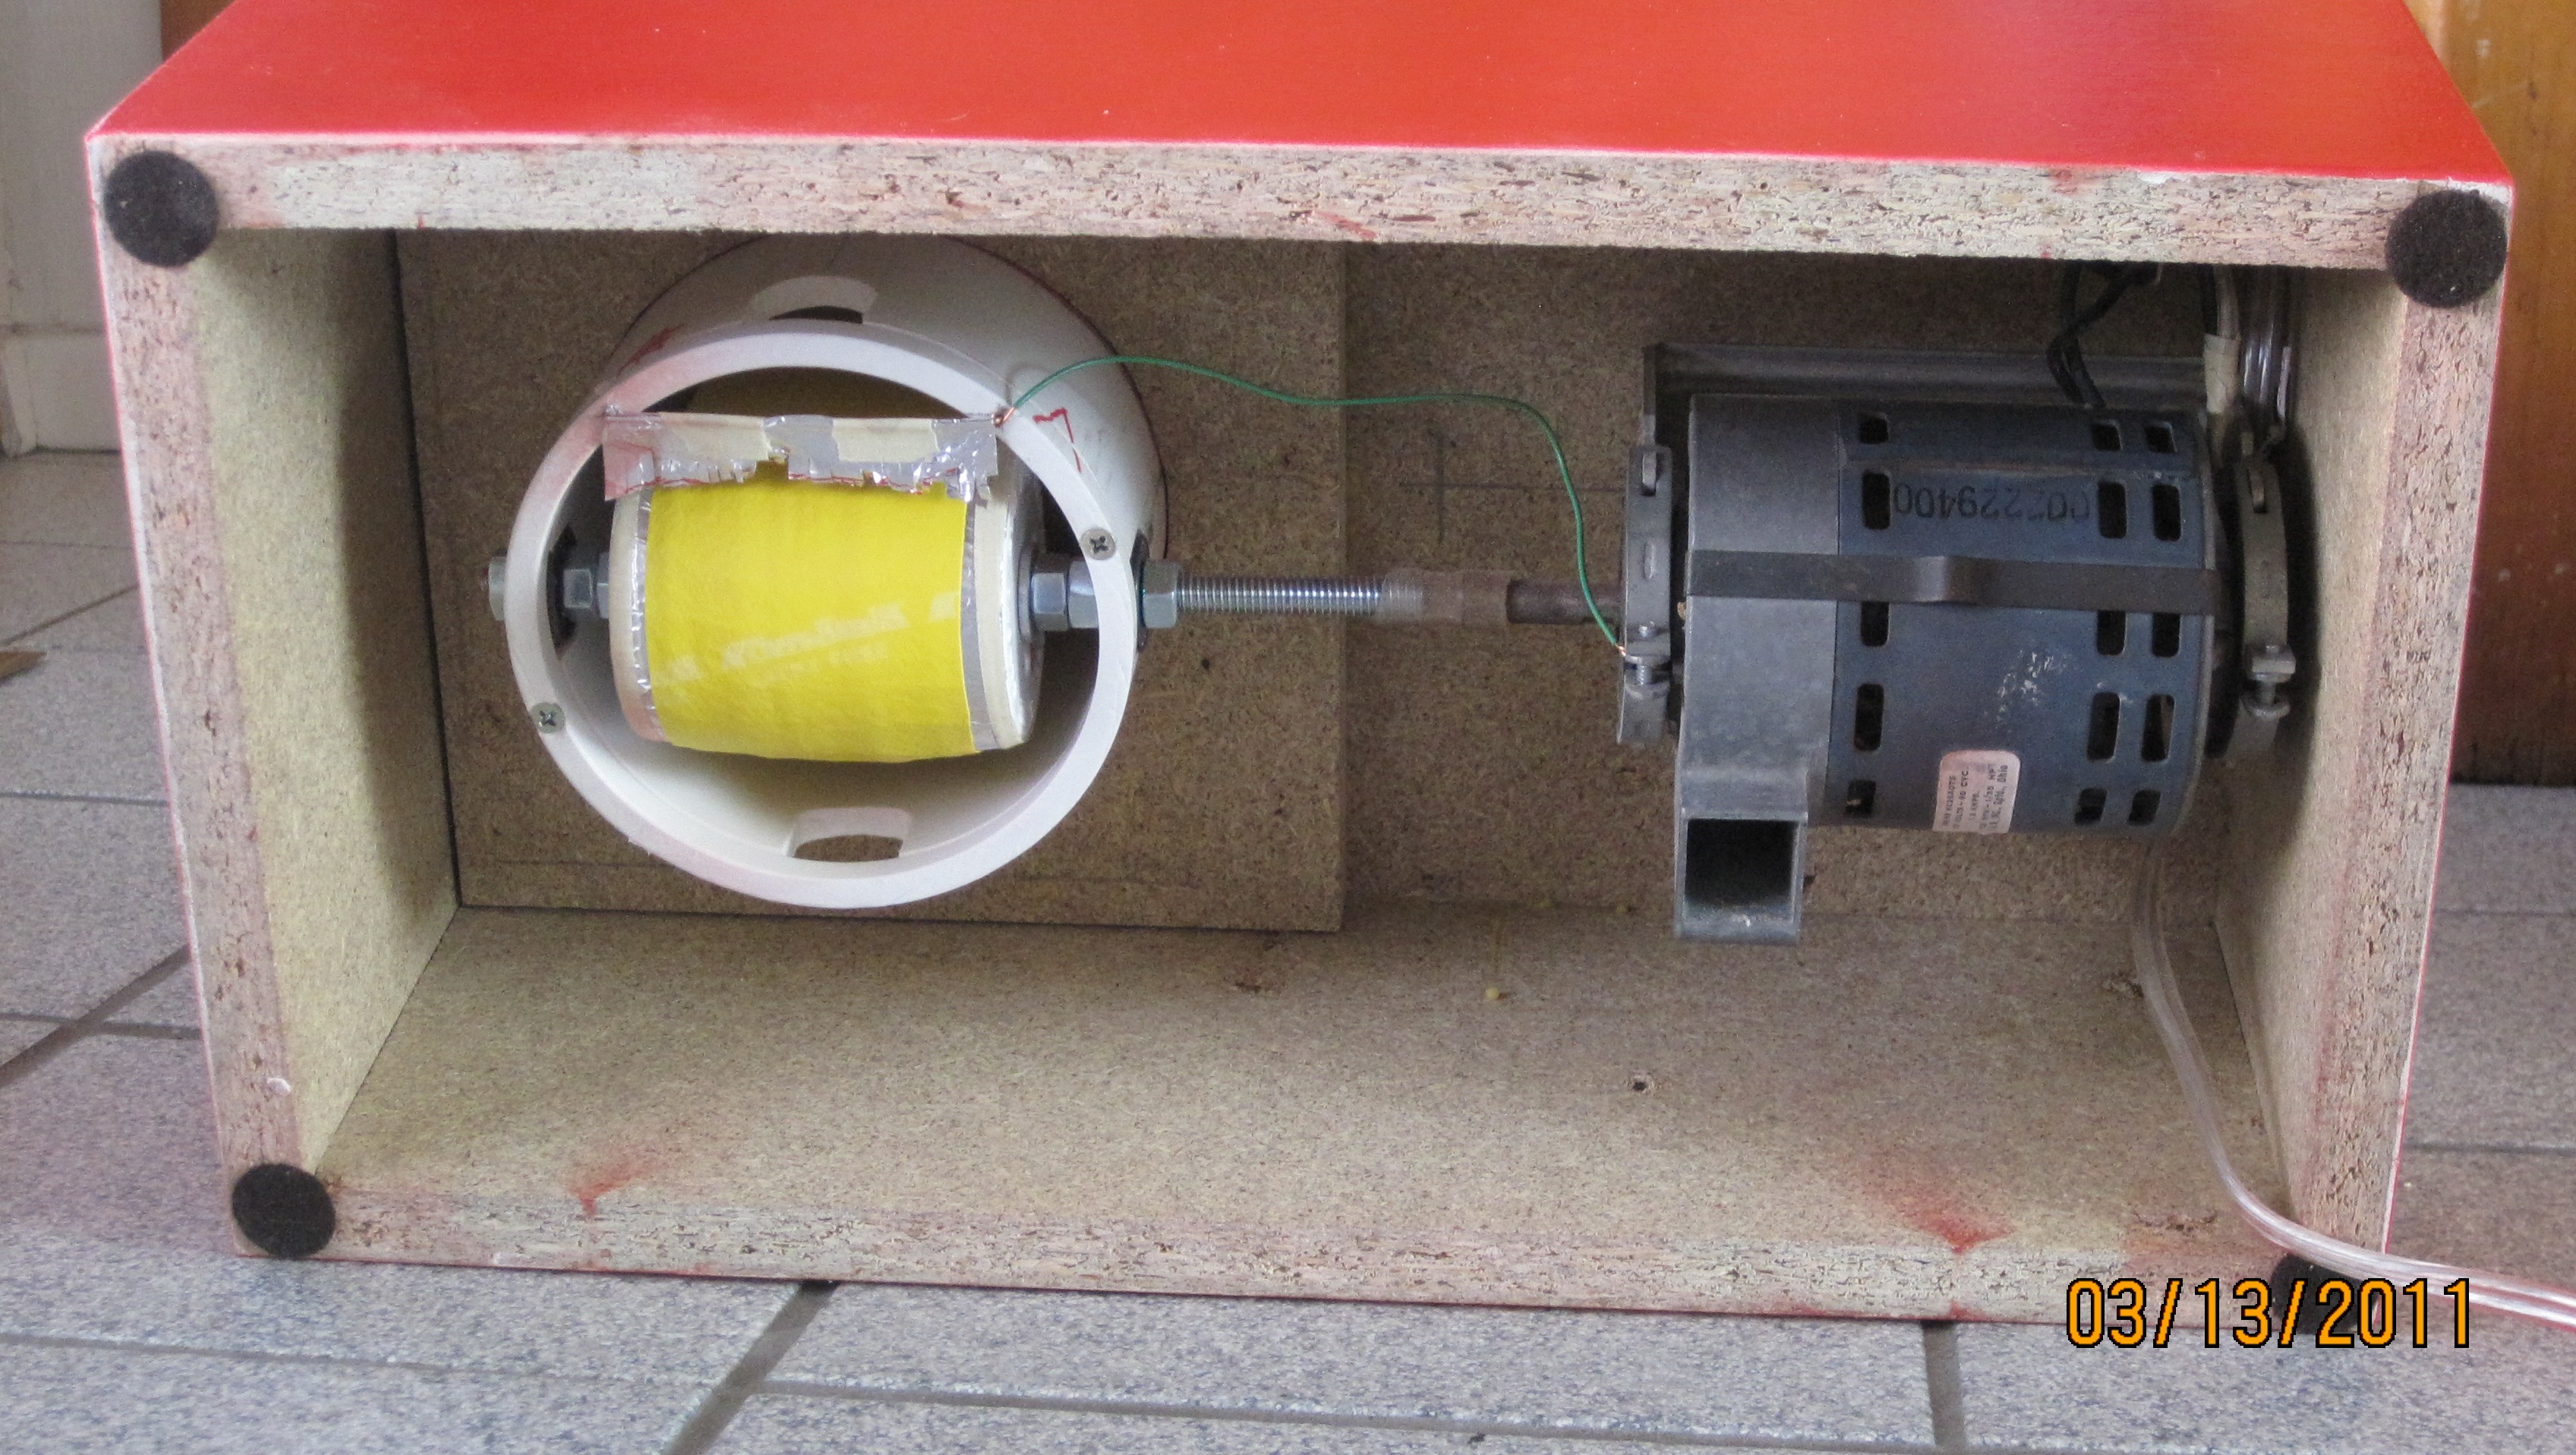
Also shown here is one of the brushes. This is just aluminum foil folded over a large 'staple' bent out of copper wire. In order to keep the foil from flopping around, cut two V notches in the back where the foil goes over the wire, and put some masking tape there. This holds the foil. The staple legs fit into two small holes drilled in the top of the tube (or the holding ring), indicated in the previous photo with the red 'X's.

Bigger →

On the top, the lower bowl has split aquarium tubing around the hole, which provided a fine squeeze fit onto the 4" pipe. Originally, a strip of masking tape (visible in the first photo) was sufficient to keep the top from sliding down. However, when I took the VDG into the classroom, and at one point four children were standing on chairs, each with one hand leaning on the sphere and their hair on end, the masking tape proved insufficient. So I cut and glued a ring as shown to hold up the sphere.

Bigger →

This is the finished product. The two brass screws visible on the top of the base are flush with the surface. They hold the motor, and are the ground reference. While building the working VDG takes a weekend, putting a nice finish on it, plus making a storage box and other things takes another weekend.

Bigger →


This is a view in te top. The cardboard along the inner edge of the bowl makes easier to position the top half.

The yellow rubber band is cut from Theraband, which you can find at sporting goods stores, or medical supply stores (physical therapists use them). I glued it with the glue from my bike repair kit.

Bigger →

Nothing unexpected at the bottom. The box is made of scrap particle board. My tube is held in place by a squeeze fit in a double layer of it. In the meantime, the power cord has been replaced with a proper grounded, strain-relieved cord.

Bigger →

 
Accessories:

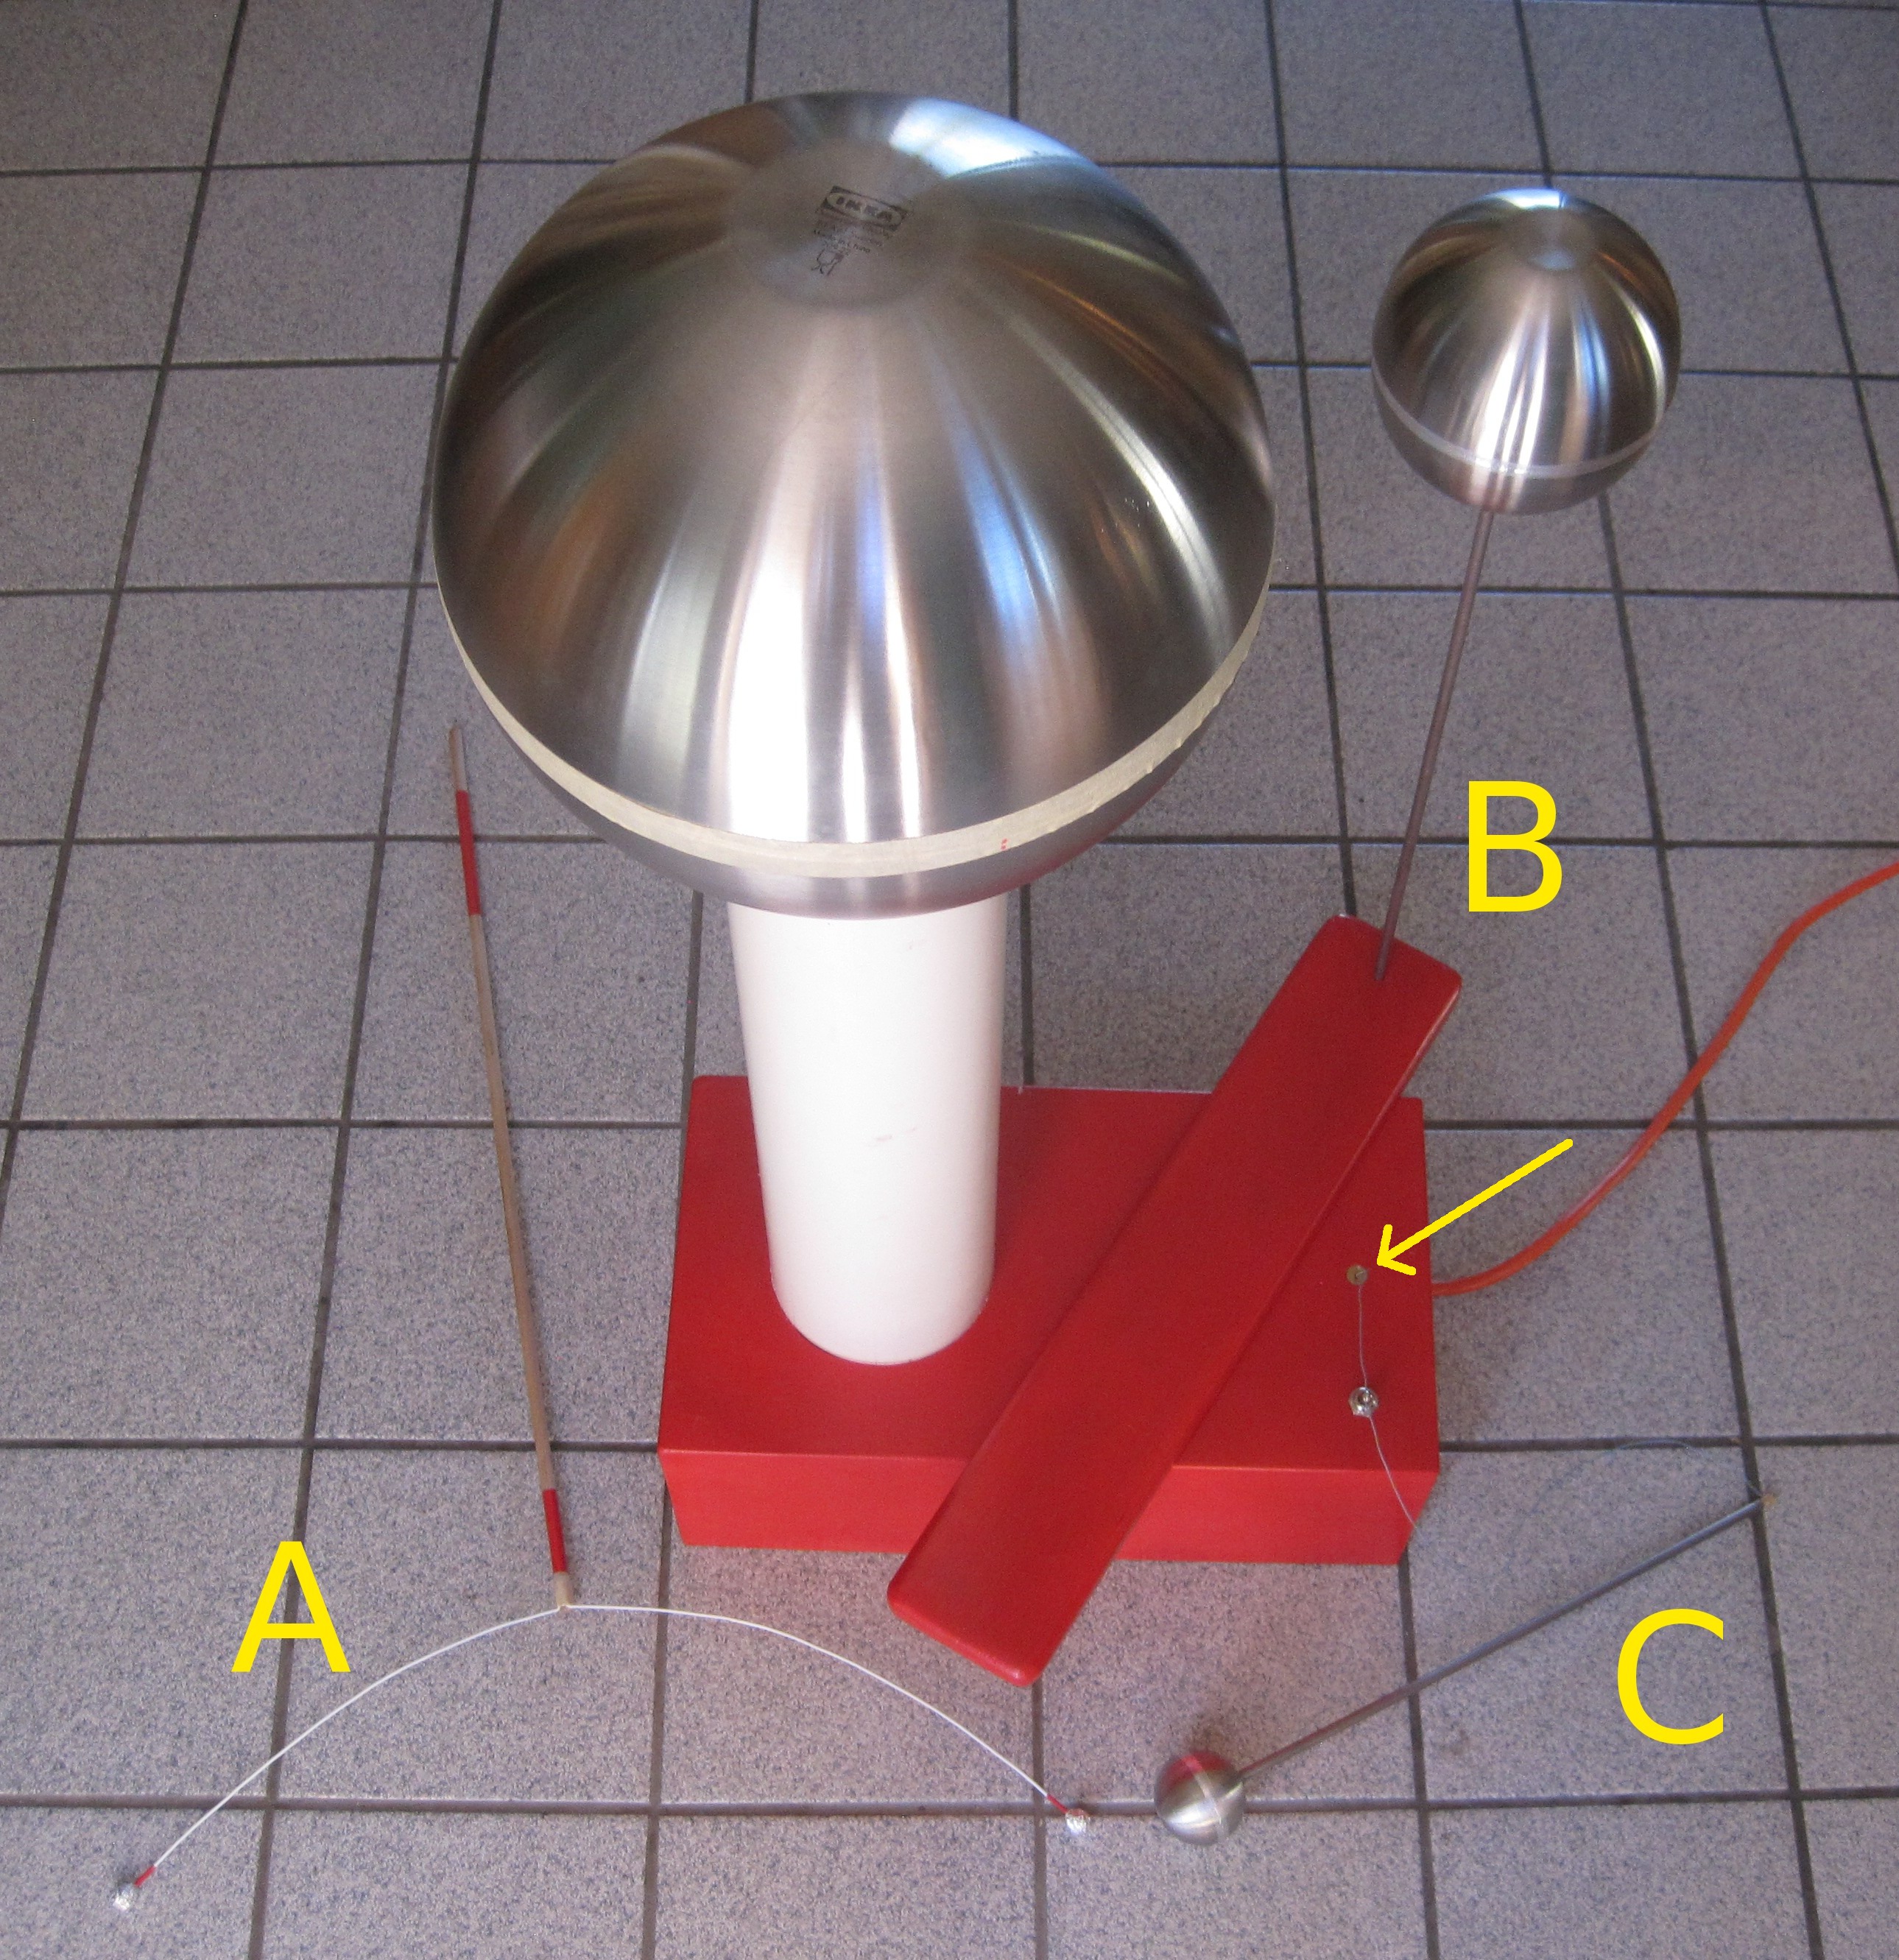
A) s a discharge rod, consisting of a long wooden handle, with a coathanger mounted at one end. The tips have balls of masking tape covered with Aluminum foil. The balls are not necessary, but as opposed to sharp tips on the coathanger ends, these make audible pops as you discharge objects.

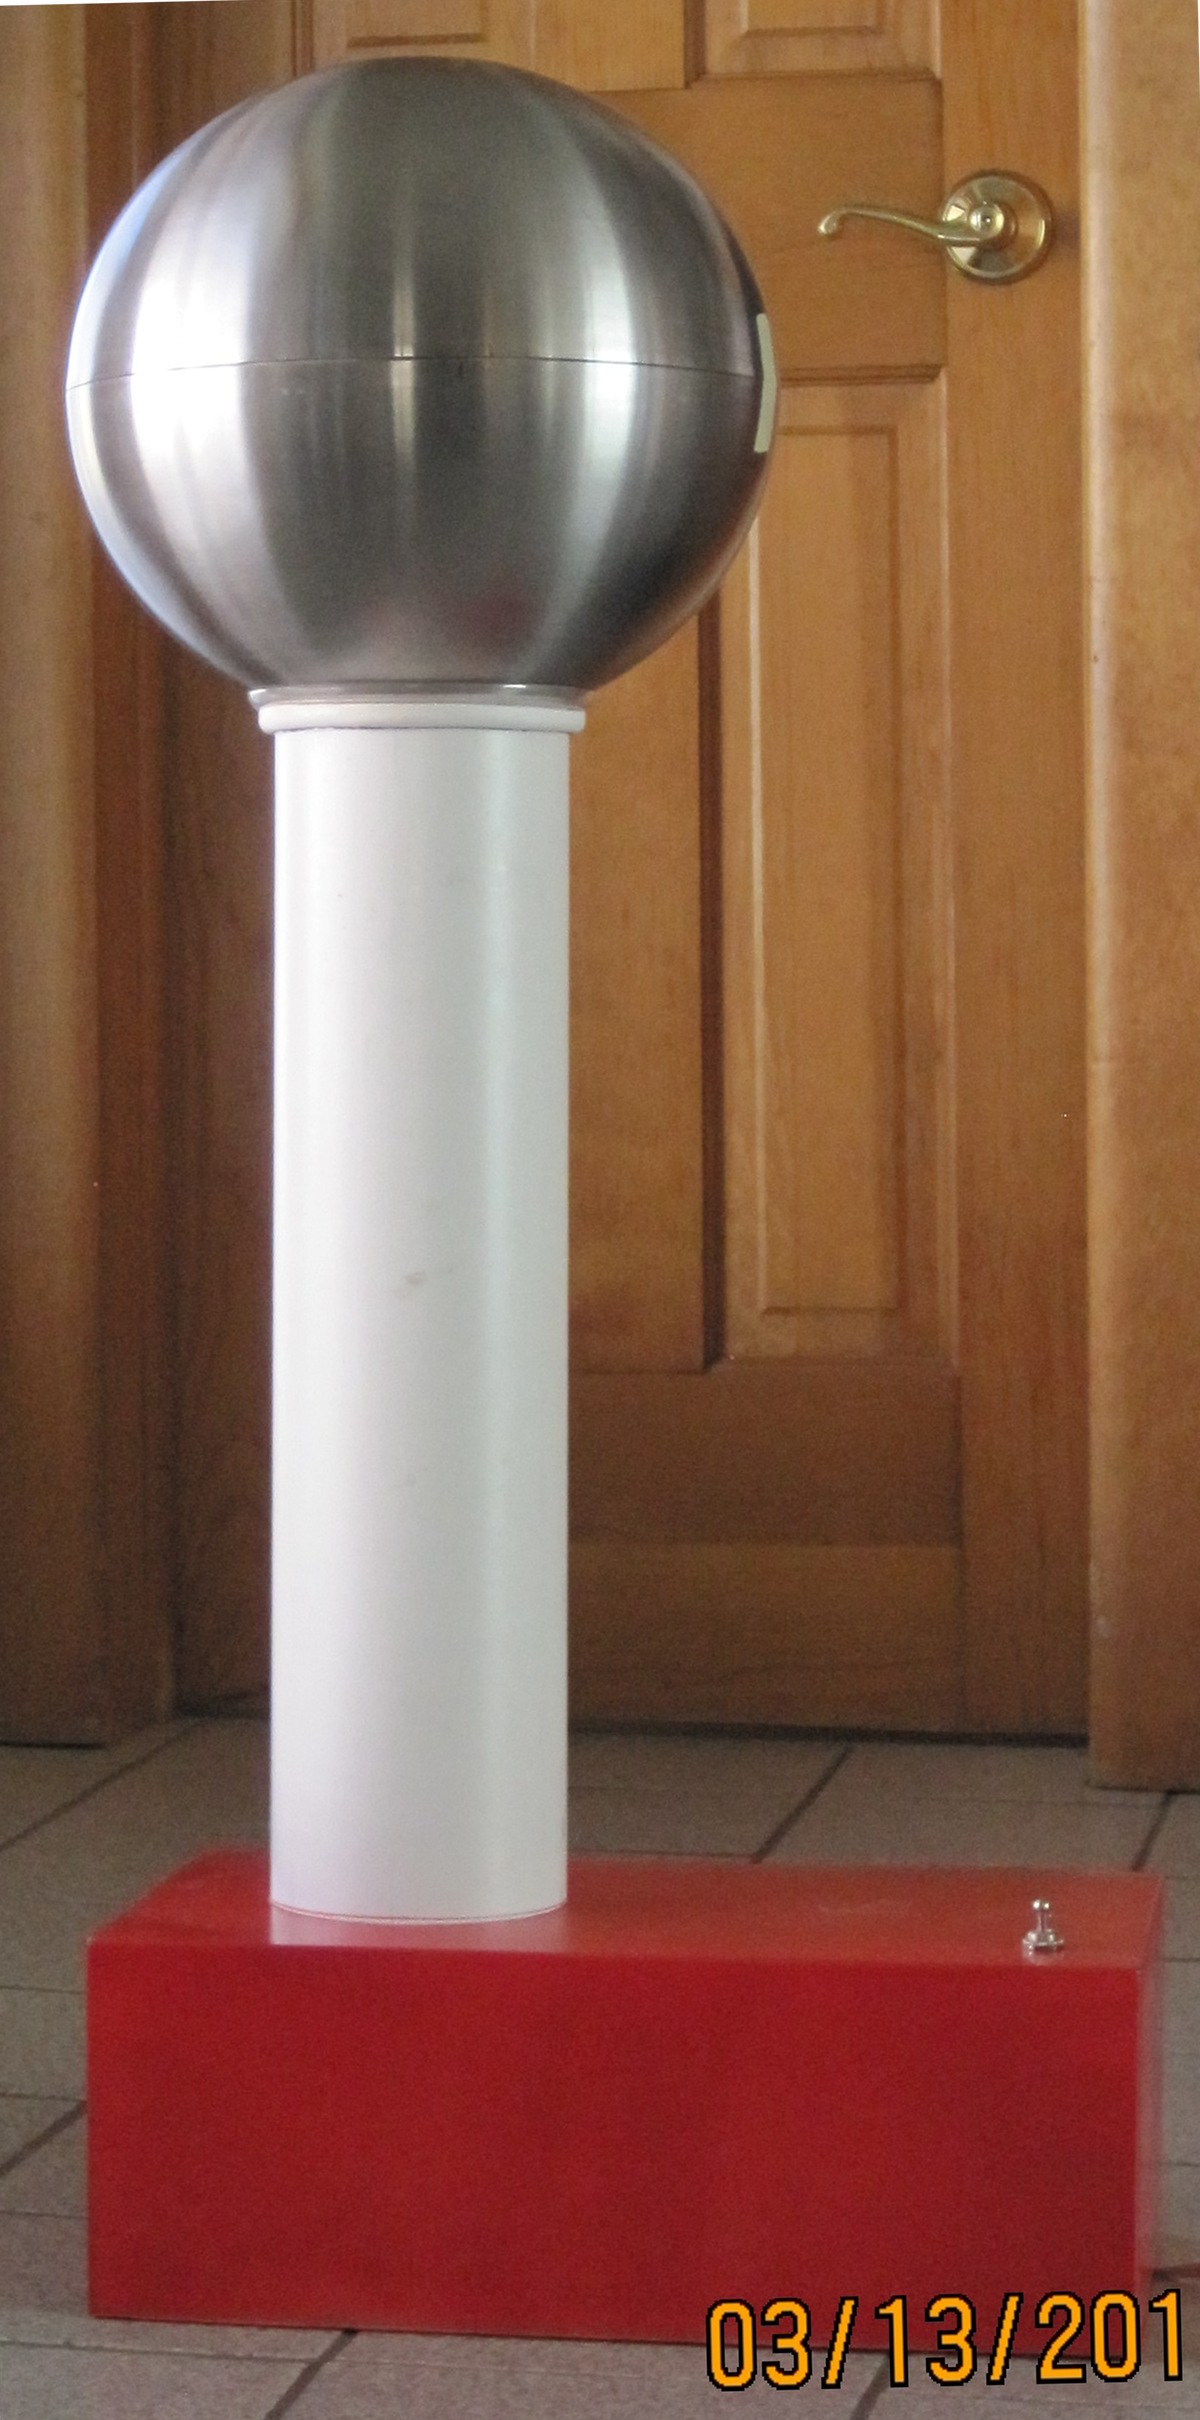
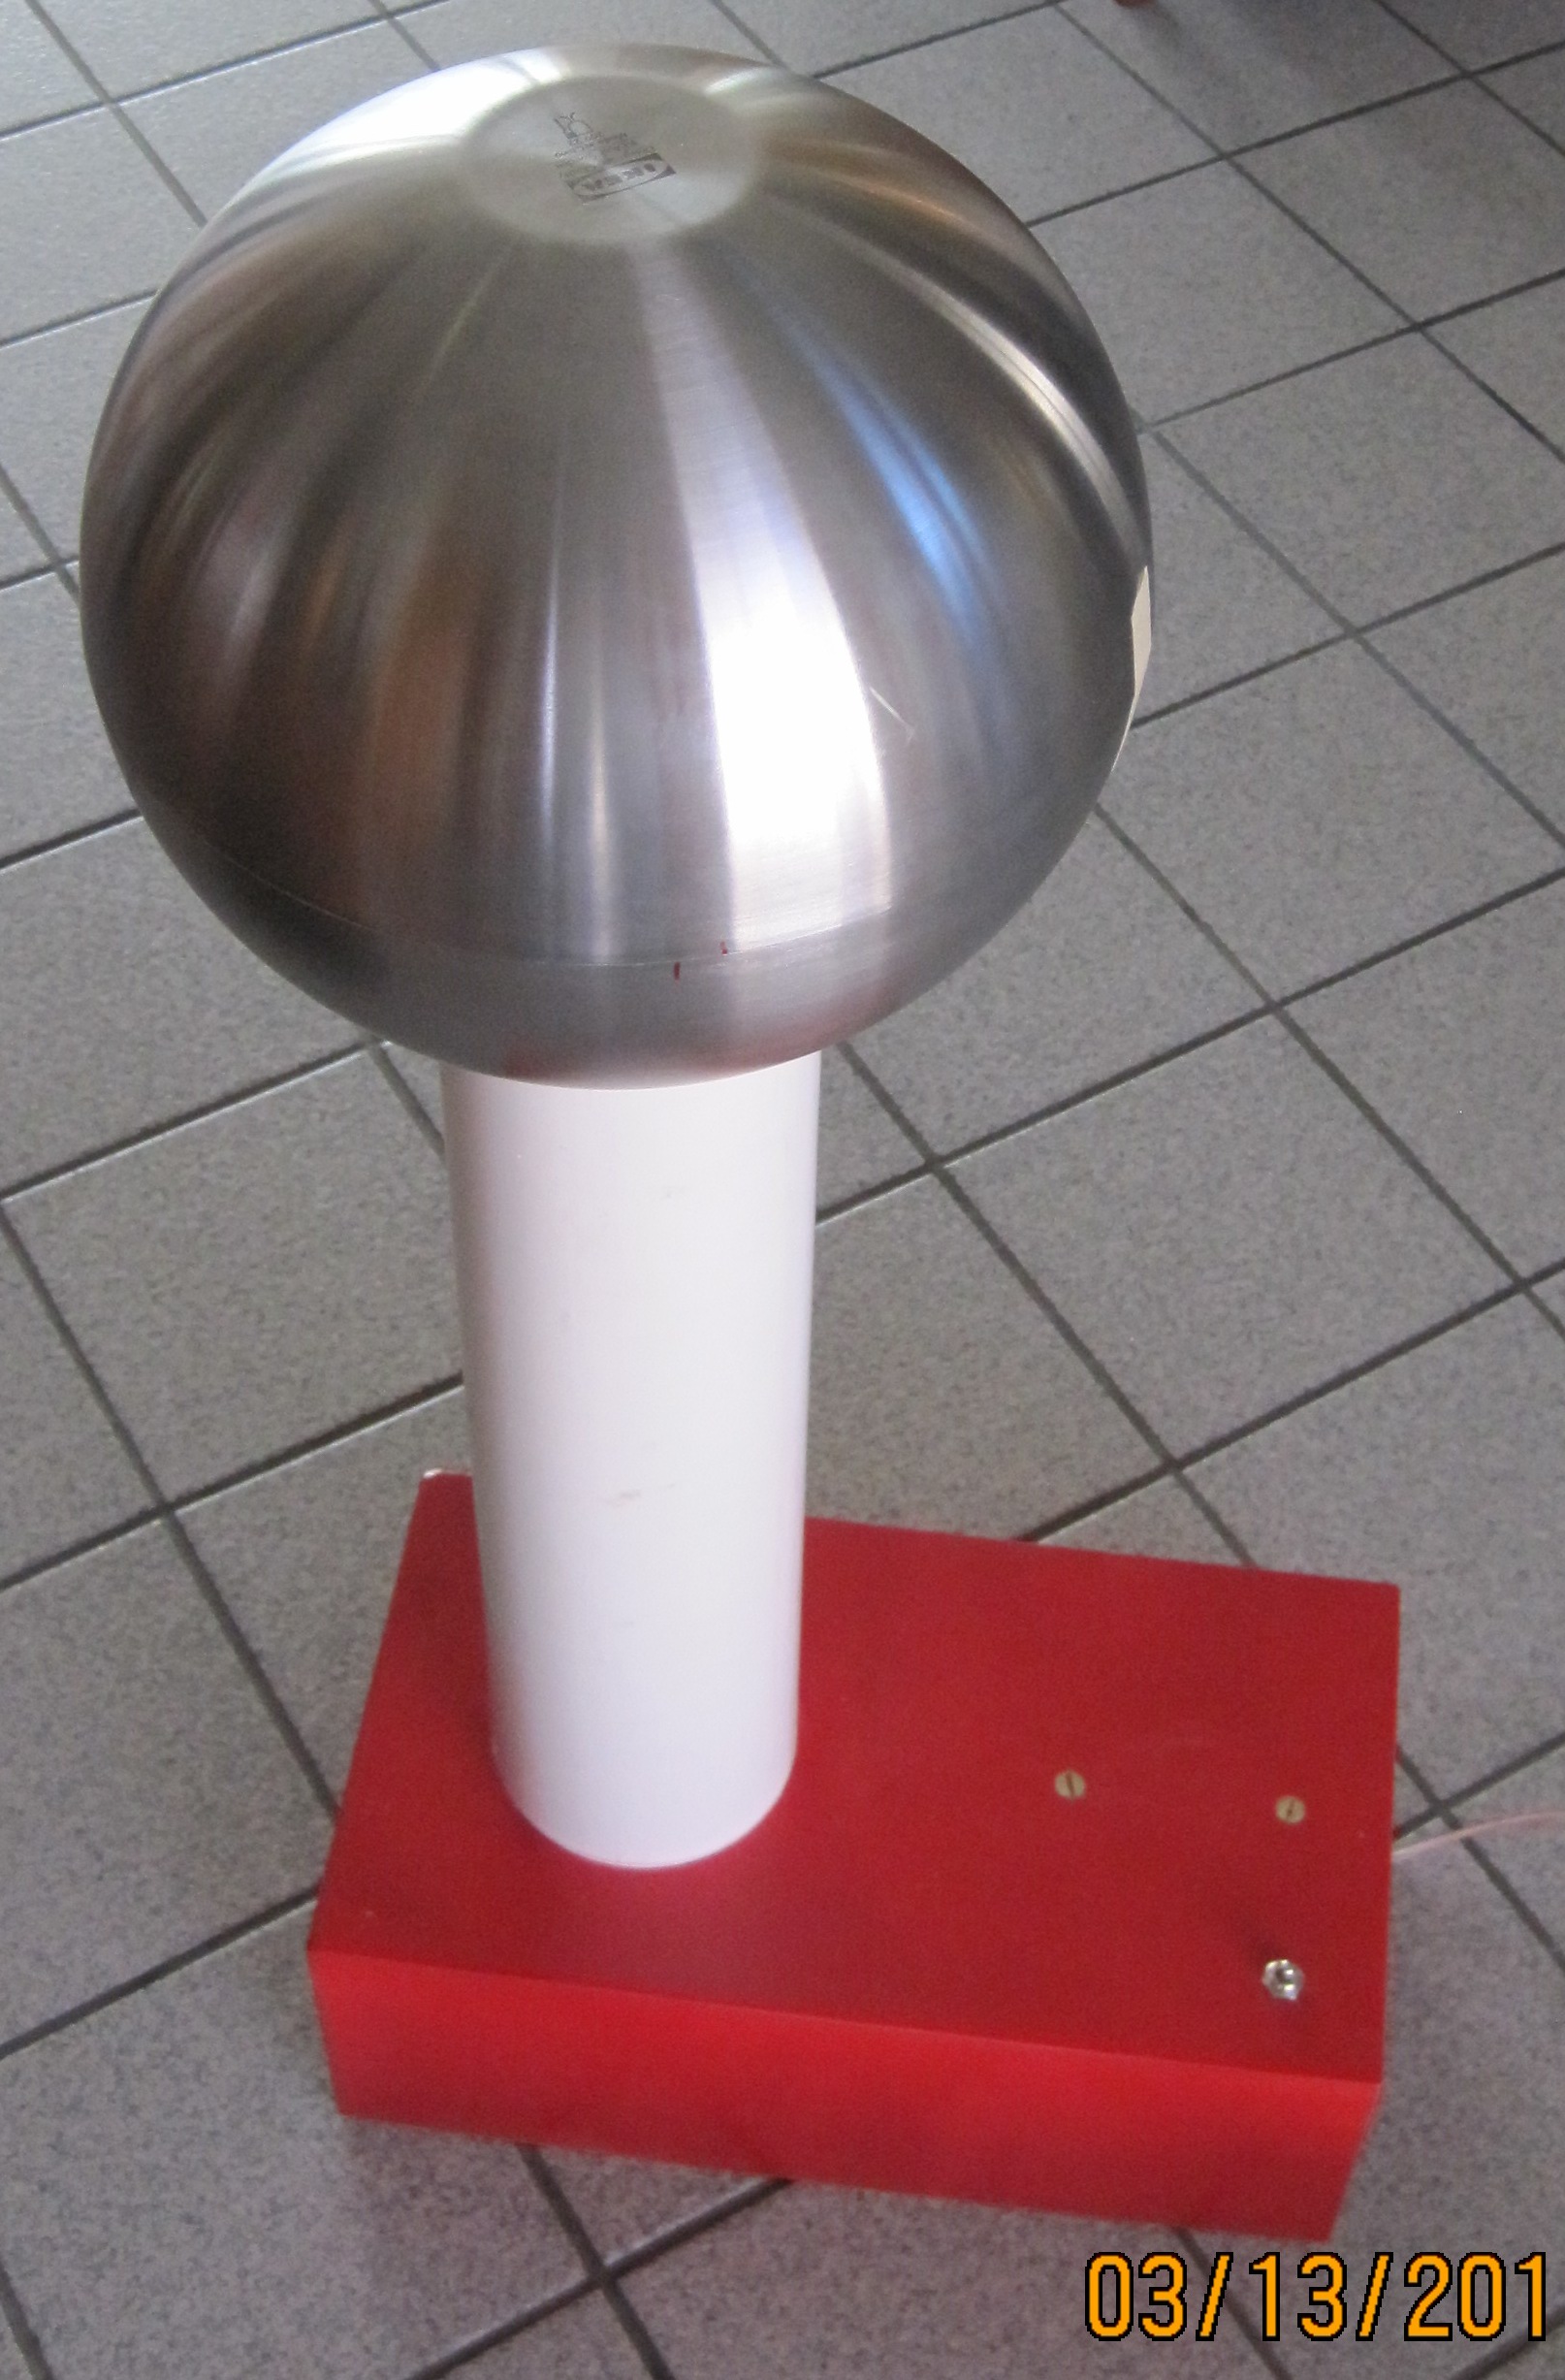
B) is a board, with a vertical metal post on which is placed a medium-sized sphere (also made from IKEA bowls). On the bottom of the board I taped Aluminum foil, which touches the post. The Aluminum foil bottom sits over one of the flush-mounted grounded screws (a second screw is visible by the arrow). When the machine runs, loud sparks jump between the big and small spheres. This grounded-sphere assembly can be moved around to make the gap bigger or smaller. The spark rate and distance give a qualitative measure of the voltage on the big sphere.

C) is another discharge spere, made from the smallest IKEA bowls and a metal rod. It is attached with a wire to the exposed grounded screw. (I drilled a 1mm hole into this screw so I can poke a wire into it.)

Bigger →


Hubert van Hecke
Last modified: Mon Dec 29 10:14:42 MST 2014